Apple challah is a delightful and symbolic dish traditionally enjoyed during Rosh Hashanah, the Jewish New Year. The incorporation of sweet apples into the classic challah bread symbolizes the desire for a year filled with sweetness and abundance. This round, fluffy, and sweet challah is not only impressive but also captures the essence of the holiday's spirit. What more could you ask for?
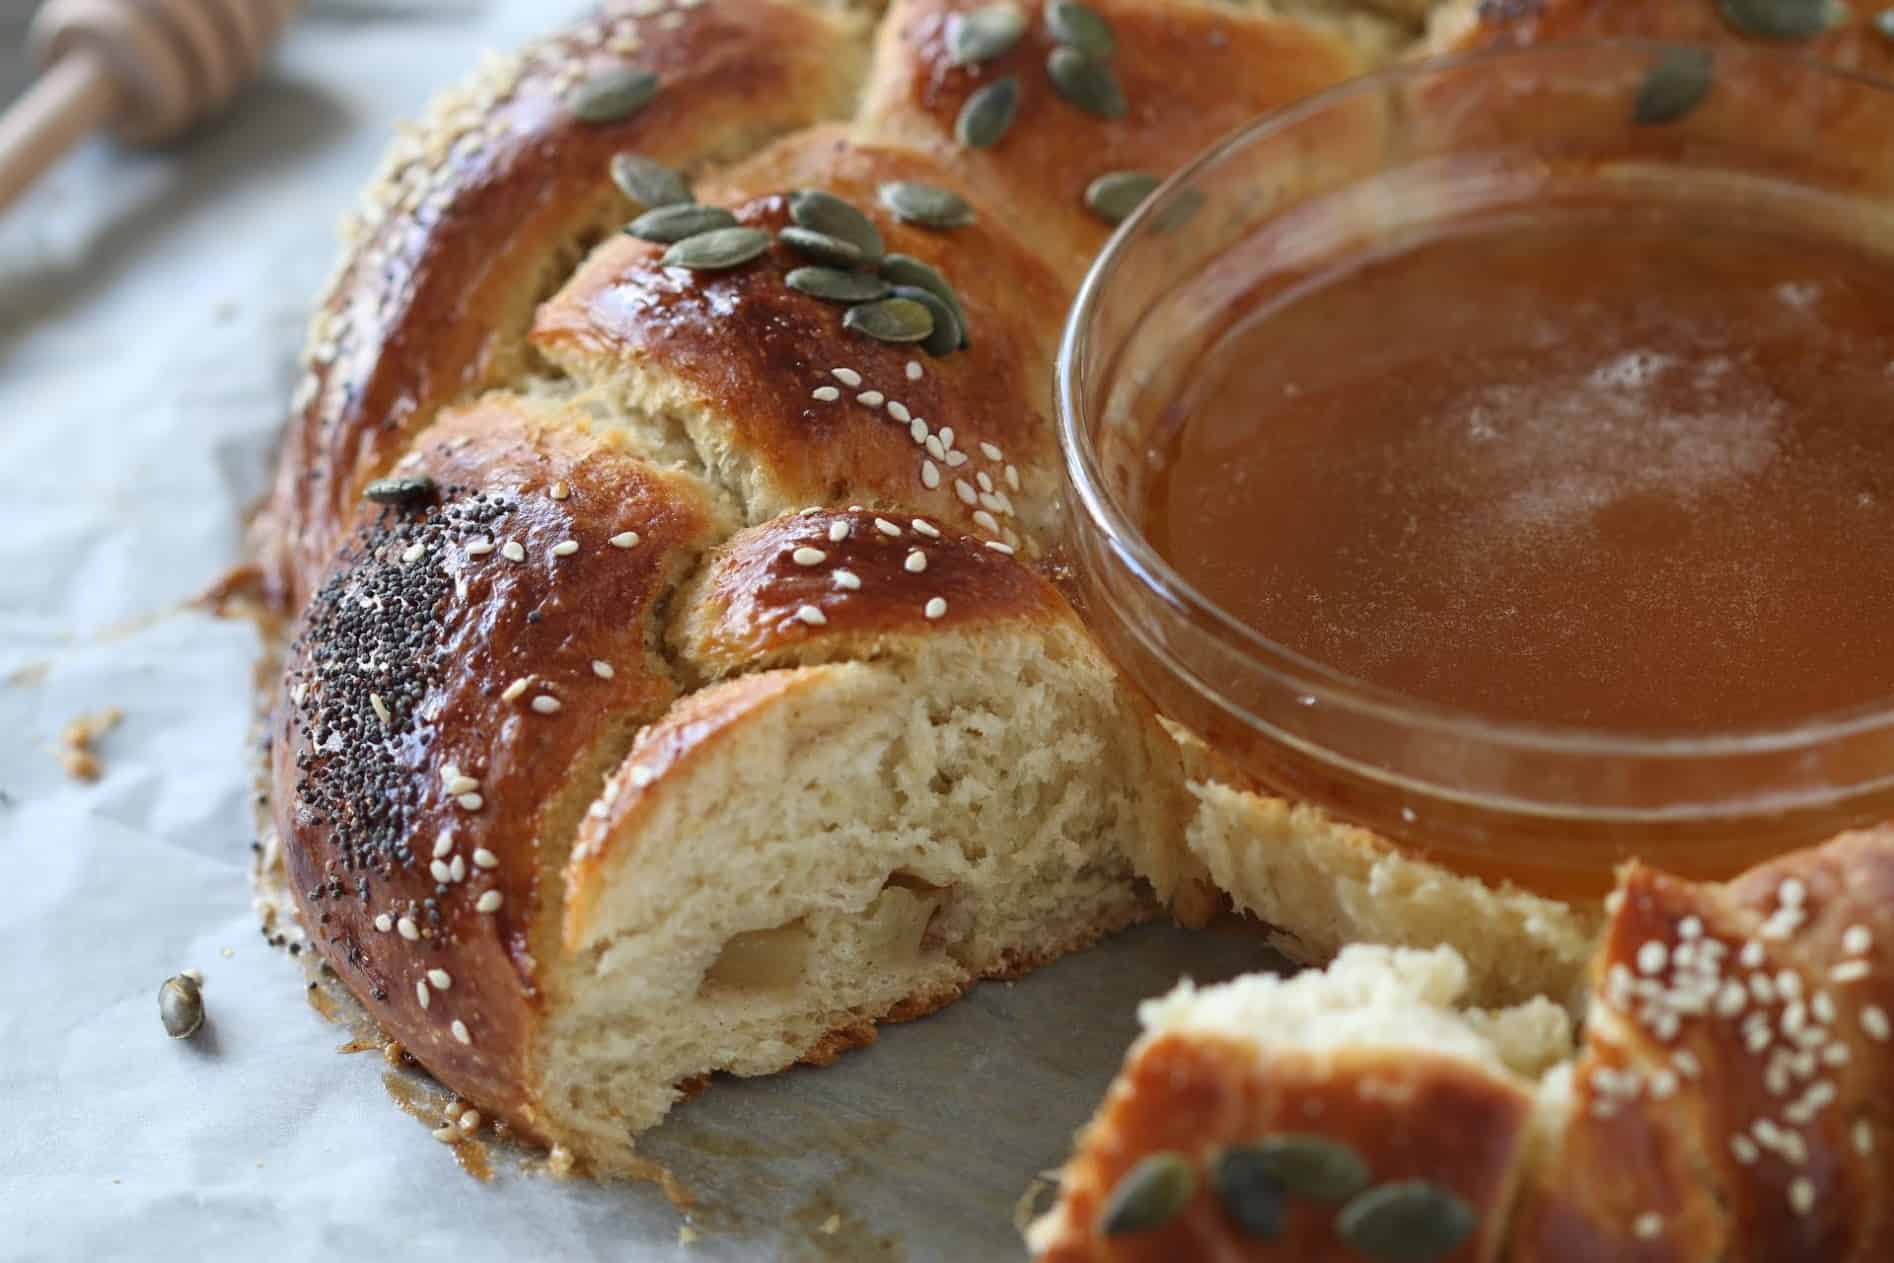
Apple Cinnamon Challah
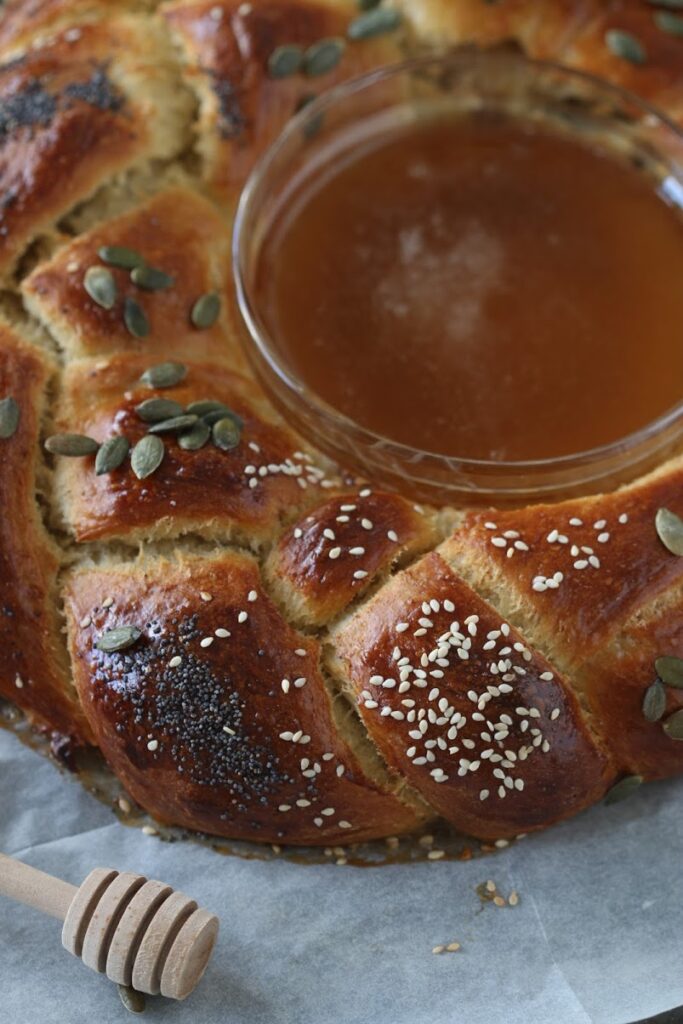
There are a lot of recipes for apple and honey for the holiday. This challah especially has honey only in the bowl that is baked with it. The reason I made it this way is that I have a baby that can't have honey yet so I kept it separate for this dish so she can enjoy the sweet challah too.
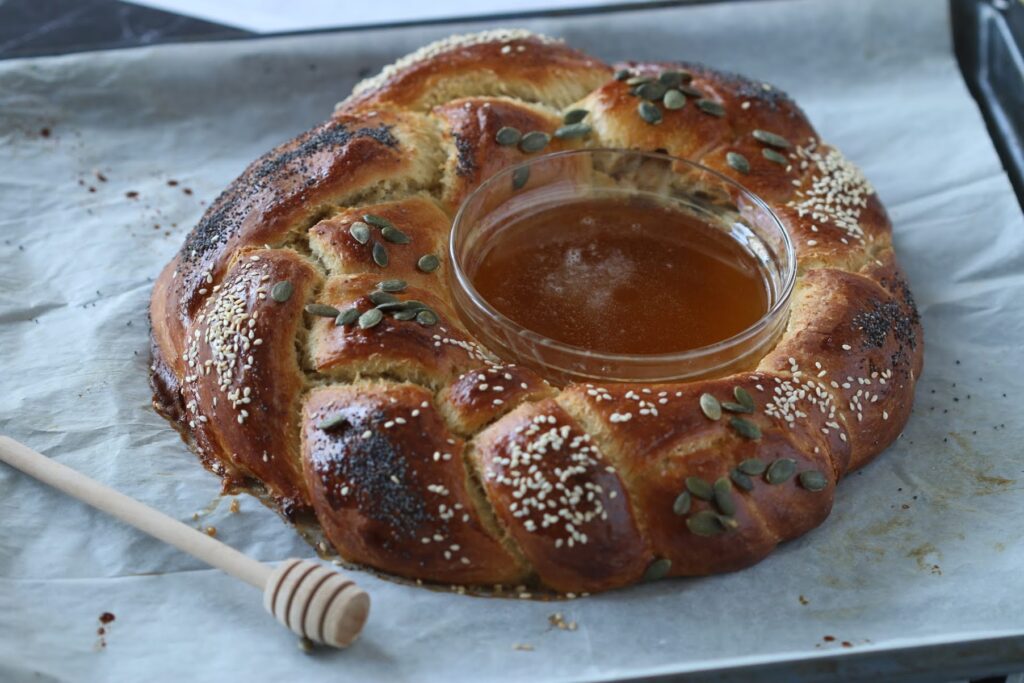
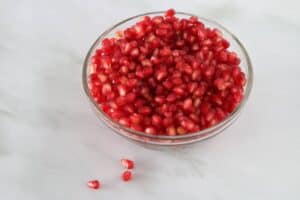
I filled the bowl in the middle of the challah with honey but you can fill it with another sweet dip if you prefer or just with pomegranate seeds. Anything you place in the bowl will make the challah fancier and it also saves space on the table that is full of great foods.
Round challah Rosh Hashanah
For Rosh Hashanah, we usually have a round challah that symbolize a crown or the cyclicality of the years. One year ends and a new one starts right away and the circle continues and continues like a round wheel.

How to braid round challah
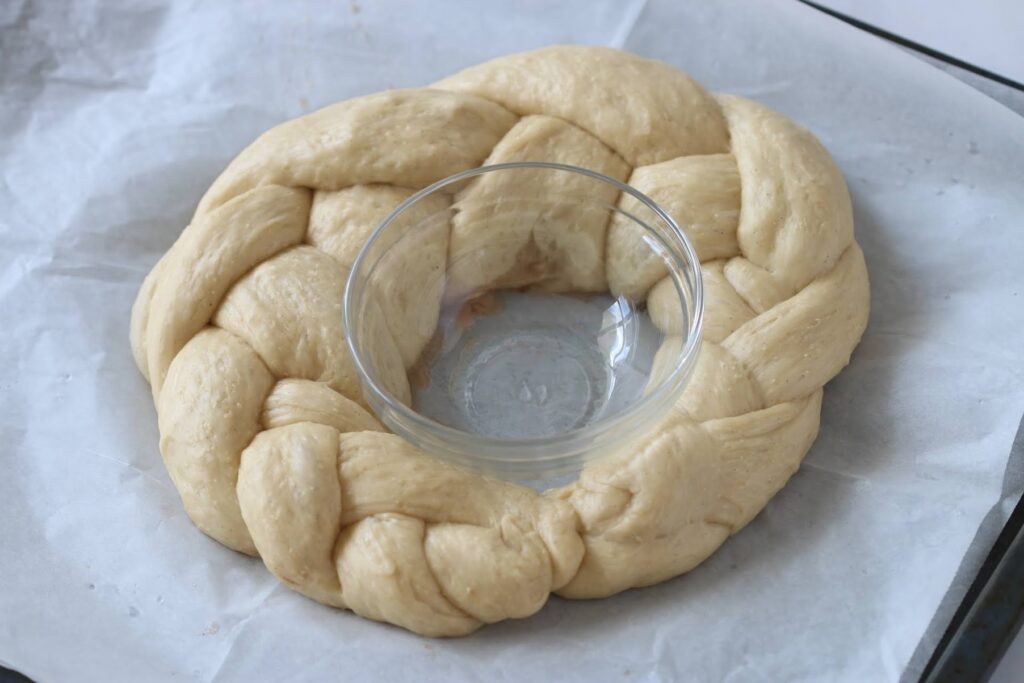
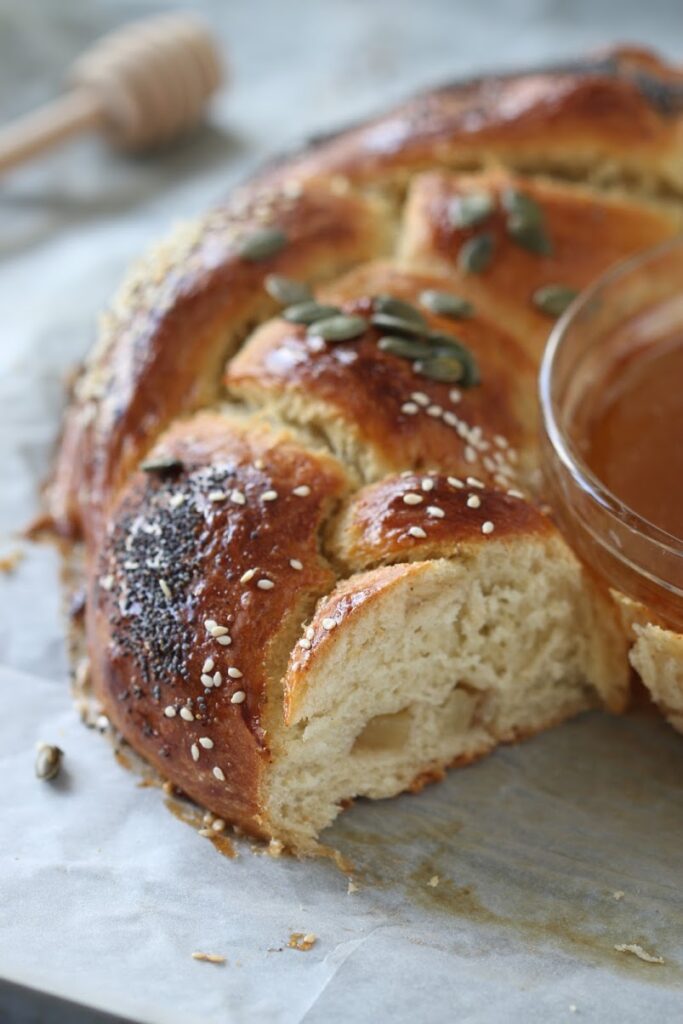
There are 2 known ways to shape the challah as a round shape. Either with 4 strands and no hole in the center or the way I shaped this challah - simply braid 3 strands challah and close it to a circle. To preserve the hole, I used the small bowl that as I mentioned before is later filled with honey. The outcome is a festive crown round challah with delicious honey to dip in it. The bonus is the apple and cinnamon filling that adds more flavor and can be a tasty surprise to your family and guests.
The challah is fluffy, sweet, and yummy. The flavors of the challah fit the fall that starts soon after the holiday with the apple and warming cinnamon.
Tips to keep in mind when making apple challah for Rosh Hashanah
Choose the right apples
Opt for sweet and crisp apple varieties like Honeycrisp, Gala, or Fuji. These apples will provide a delightful flavor and texture to the challah.
Prepare the apples properly
Peel, core, and finely chop the apples before incorporating them into the dough. Make sure the apple pieces are small enough to distribute evenly throughout the bread.
Adjust the dough consistency
The moisture content of the apples may affect the dough's consistency. If the dough is too sticky, you can gradually incorporate a bit more flour, a tablespoon at a time, until the dough is manageable and not overly sticky.
Give the dough enough time to rise
Proper rising time is crucial for achieving a light and fluffy challah. Allow the dough to double in size during the initial rise, and then again after shaping the loaves. This may take anywhere from 1 to 2 hours, depending on the temperature of your kitchen.
Braid the challah with care
Take your time while braiding the dough. Make sure the strands are evenly rolled out and gently braid them, tucking the ends underneath the loaf for a neat appearance.
Use the egg wash
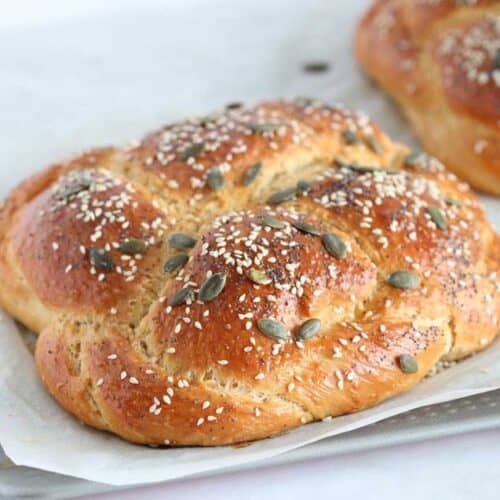
Brushing the risen loaves with egg before baking gives them a shiny and golden crust. It also helps the toppings, such as sesame or poppy seeds, adhere to the surface.
Monitor the baking time
Keep a close eye on the challah as it bakes, as baking times can vary depending on the size of the loaves and your oven. The challah should turn golden brown and sound hollow when tapped on the bottom. Overbaking can result in a dry loaf, so it's better to check for doneness a bit earlier than to risk overcooking.
Let it cool before slicing
Once the apple challah is baked, resist the temptation to cut into it right away. Allow it to cool on a wire rack for at least 15-20 minutes before slicing. This will help the bread retain its moisture and texture.
FAQS
It's best to use sweet and crisp apple varieties like Honeycrisp, Gala, or Fuji for apple challah. These varieties provide a pleasant flavor and texture to the bread. Avoid using apples that are overly tart or mushy.
No, you don't need to cook the apples before incorporating them into the dough. Simply peel, core, and finely chop the apples, and they will soften and release their flavor during the baking process.
While traditionally challah is made with all-purpose flour, you can experiment with using whole wheat flour or a combination of whole wheat and all-purpose flour for a healthier twist. Keep in mind that whole wheat flour absorbs more liquid, so you may need to adjust the amount of flour or water accordingly.
To prevent a dense texture, ensure that you knead the dough properly, allowing it to develop gluten. Knead the dough for the recommended time in the recipe until it becomes smooth and elastic. Additionally, make sure you give the dough enough time to rise properly.
If you have any leftover apple challah, store it in an airtight container or wrap it tightly in plastic wrap to maintain freshness. It can be kept at room temperature for a day or two.
Other challah recipes on my blog:
For more recipes with apples, check out my apple recipe index.
More delicious Rosh Hashanah recipes featured on my blog:
You must use the category slug, not a URL, in the category field.For all my Rosh Hashanah recipe head over to my Rosh Hashanah recipe index.
Bake this apple challah today!
Baking an apple challah fills the home with a comforting aroma and creates a beautiful centerpiece for the holiday table. The bread is often served warm and dipped in honey, further invoking blessings for a sweet year. Sharing this delicious and symbolic bread with loved ones is a wonderful way to celebrate and express hopes and wishes for the new year. May your apple challah bring joy and sweetness to your Rosh Hashanah celebration!
Rosh Hashanah Challah
Ingredients
For the dough:
For the apple filling:
- 1 apple peeled and cut to small cubes
- 1 teaspoon cinnamon
- ¼ cup sugar
For garnish:
- egg beaten
- Handful sesame seeds
- Handful poppy seeds
- Handful pumpkin seeds
Instructions
- In a stand mixer bowl, place all dough ingredients. Make sure the salt and yeast do not touch directly to avoid the yeast not working.
- Knead the dough on low speed for 4-5 minutes.
- Grease the bowl and let the dough rise for 2 hours.
- In a small bowl, mix filling ingredients.
- Divide the dough to 3.
- Roll each part to a rectangle shape.
- Place ⅓ of the filling in the middle of the rectangle.
- Close the dough with the filling, make sure to pinch it so the filling won't run out.
- Heat the oven to 170°C / 350°F with the fan.
- Braid the 3 strands and shape it as a crown/ circle.
- Place a small bowl that is safe to use in the oven in the center of the braided challah (this will be filled with honey later).
- Brush the challah with the beaten egg.
- Sprinkle the seeds for garnish.
- Bake for 30 minutes.
- Let the challah cool completely.
- Fill the small bowl with honey.




Carly
Can you freeze with the filling?
Renana
Hi Carly, I haven't try freezing this challah. I think it might get too soggy when thawing the bread.